Recording Better Demos
Recording videos always seemed like a huge ordeal to me. For a good demo, not only do you make sure that everything works, hope that you’ve selected the right mic (sorry Tim), and select the right window to record, you need to set up the environment just right. This goes beyond cleaning up your desktop (moving all files to the peculiar ‘stuff’ folder in the process) and trying hard not to leak any secrets. You need to make sure the installed software matches what you want to showcase, doesn’t use any previous configurations from development sessions, and mirrors what real users would experience in their workflow.
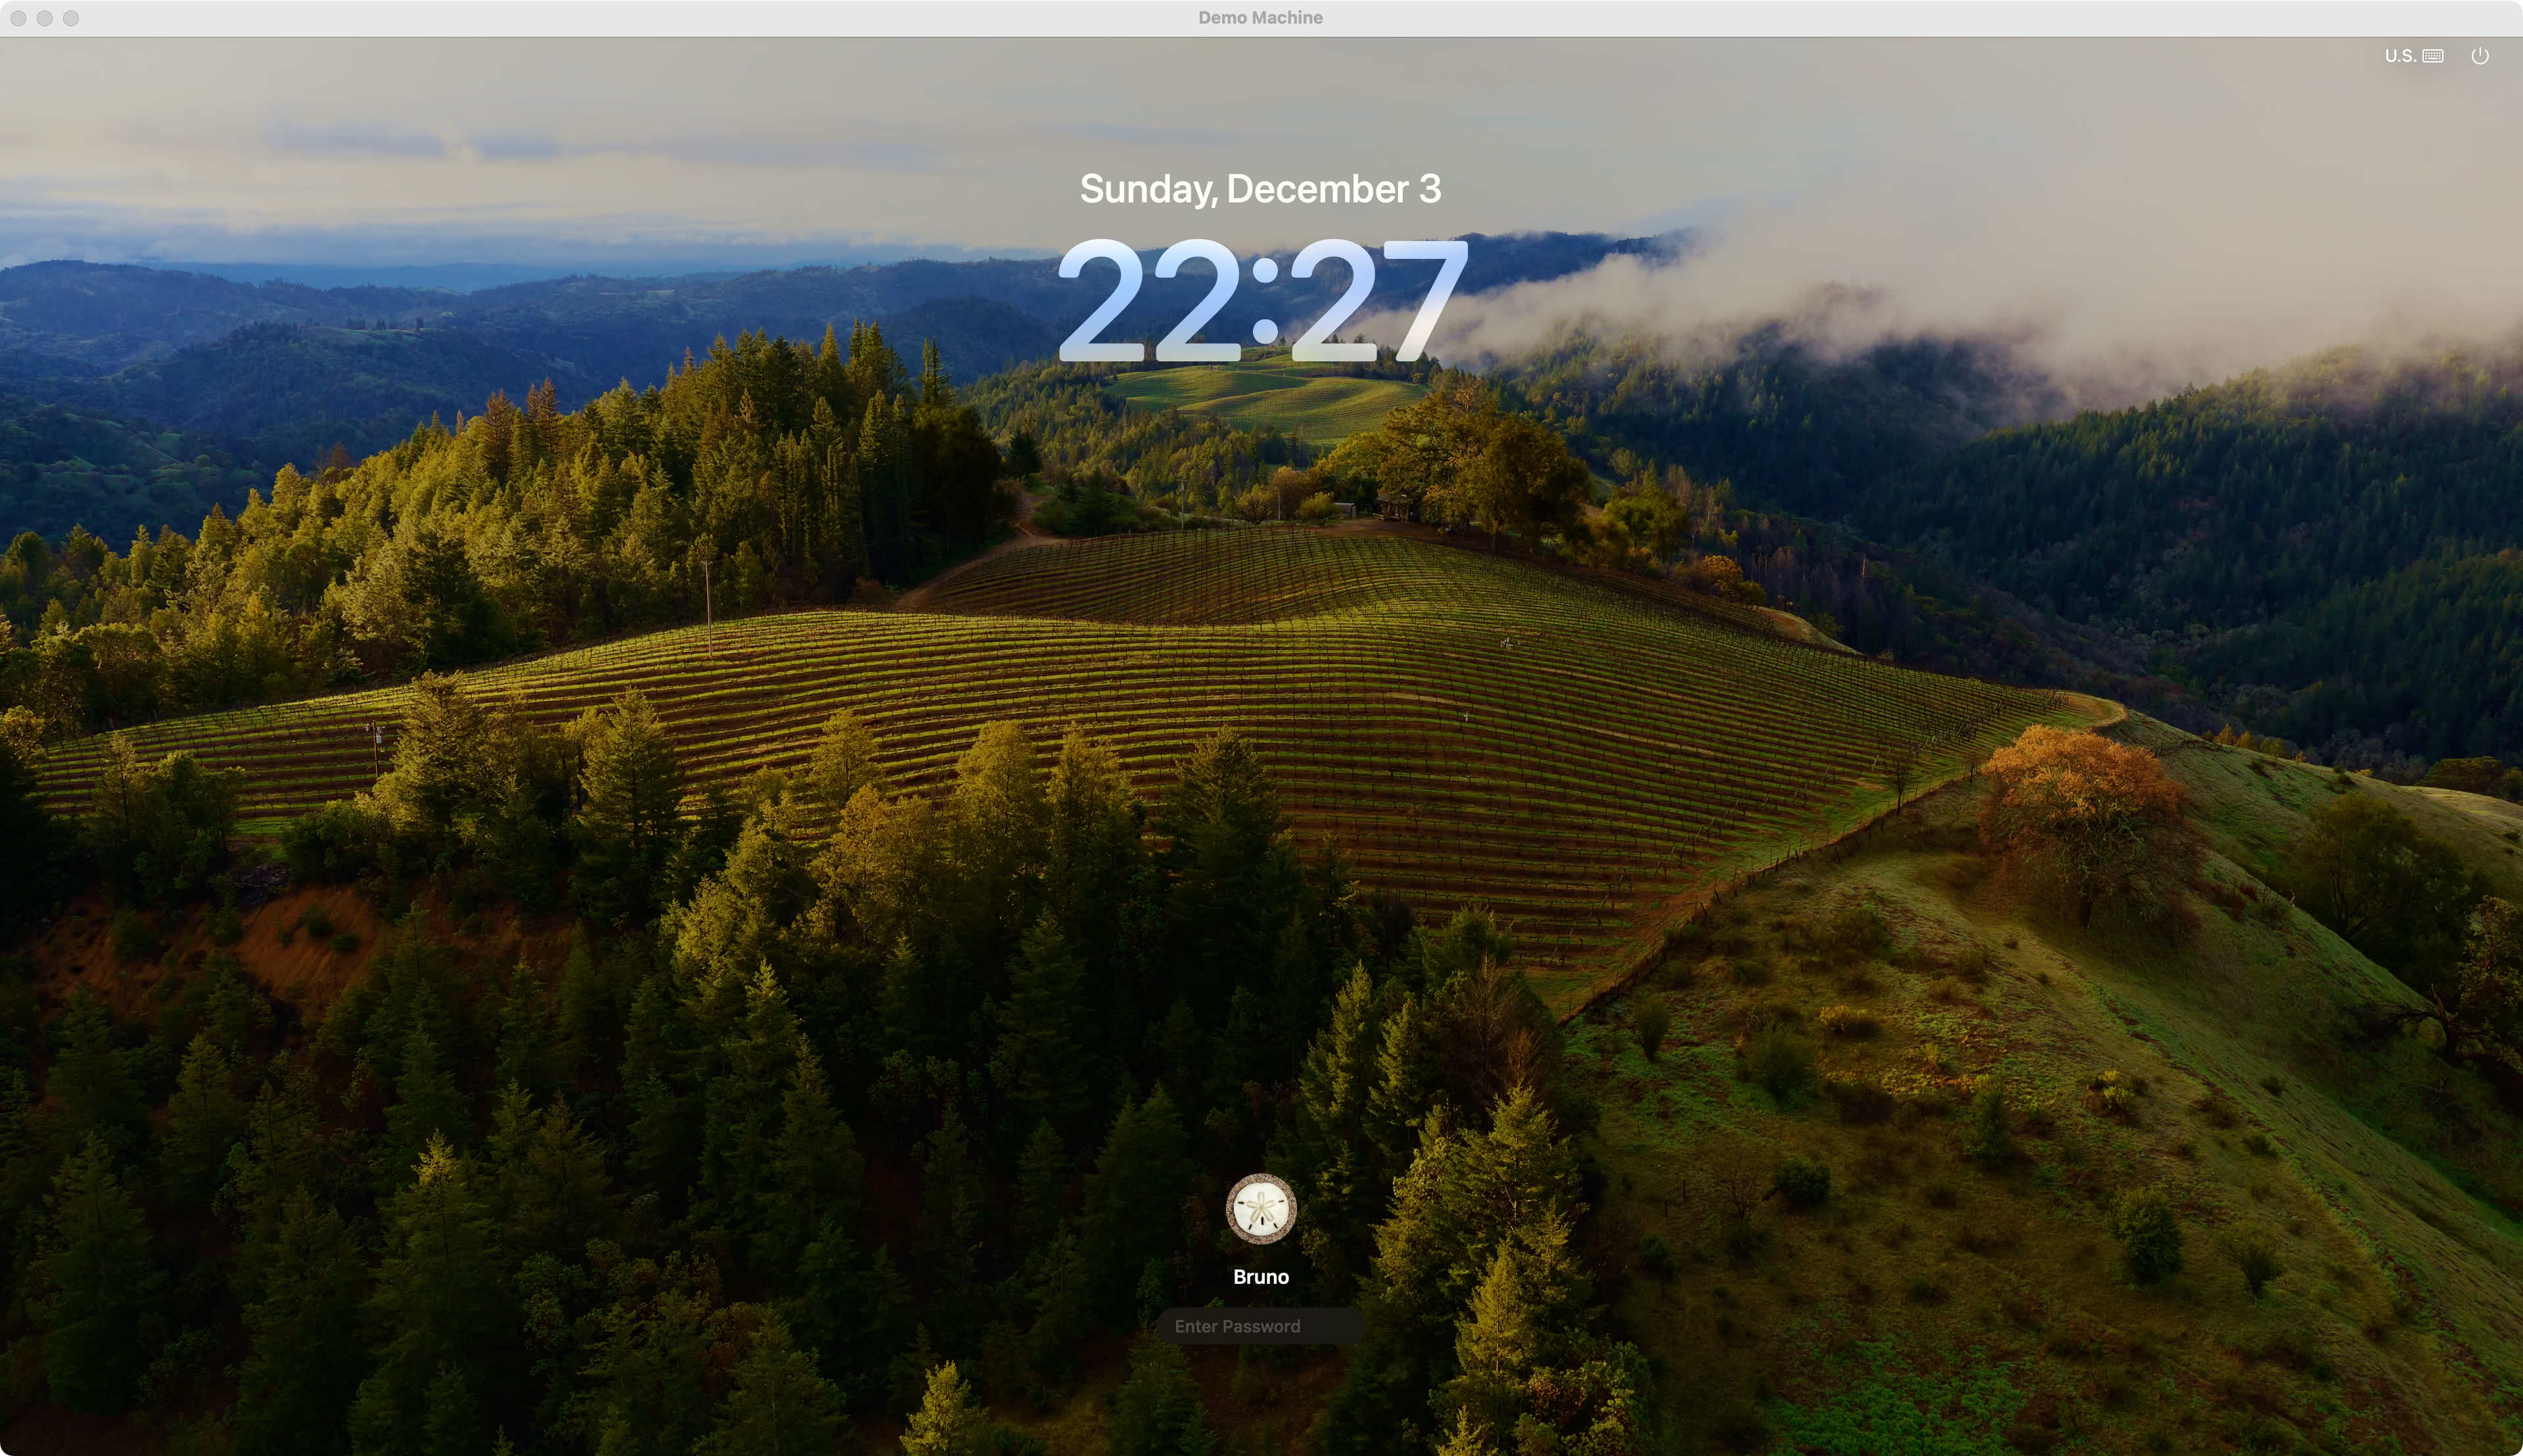
This is really hard to achieve on a development machine, even with multiple users. If buying a machine dedicated to recording demos seems a bit over the top, you may enjoy the solution I’ve found for myself: Using a virtual machine running macOS.
With Apple Silicon and the Virtualization framework, Apple made it really easy to run macOS VMs at near-native speeds. I’ve been using UTM, a minimal open-source VM manager that supports the Virtualization framework.
I kept most default settings, tweaking only the network mode to bridge networking while on WiFi and shared networking when connected to a mobile hotspot via USB tethering. I’m not sure why this necessitates a change, but it does. To get crisp font rendering, I also set the screen resolution to 3840x2160 with HiDPI (Retina) enabled. This is perfect for recording code demos.
After setting up all applications in the VM, the next question is how to record your VM. While the built-in Screenshot app works just fine for recording the entire screen, recording just a single window isn’t really supported. You also don’t have much control over the audio configuration, so I decided to use OBS, a proper recording tool.
OBS
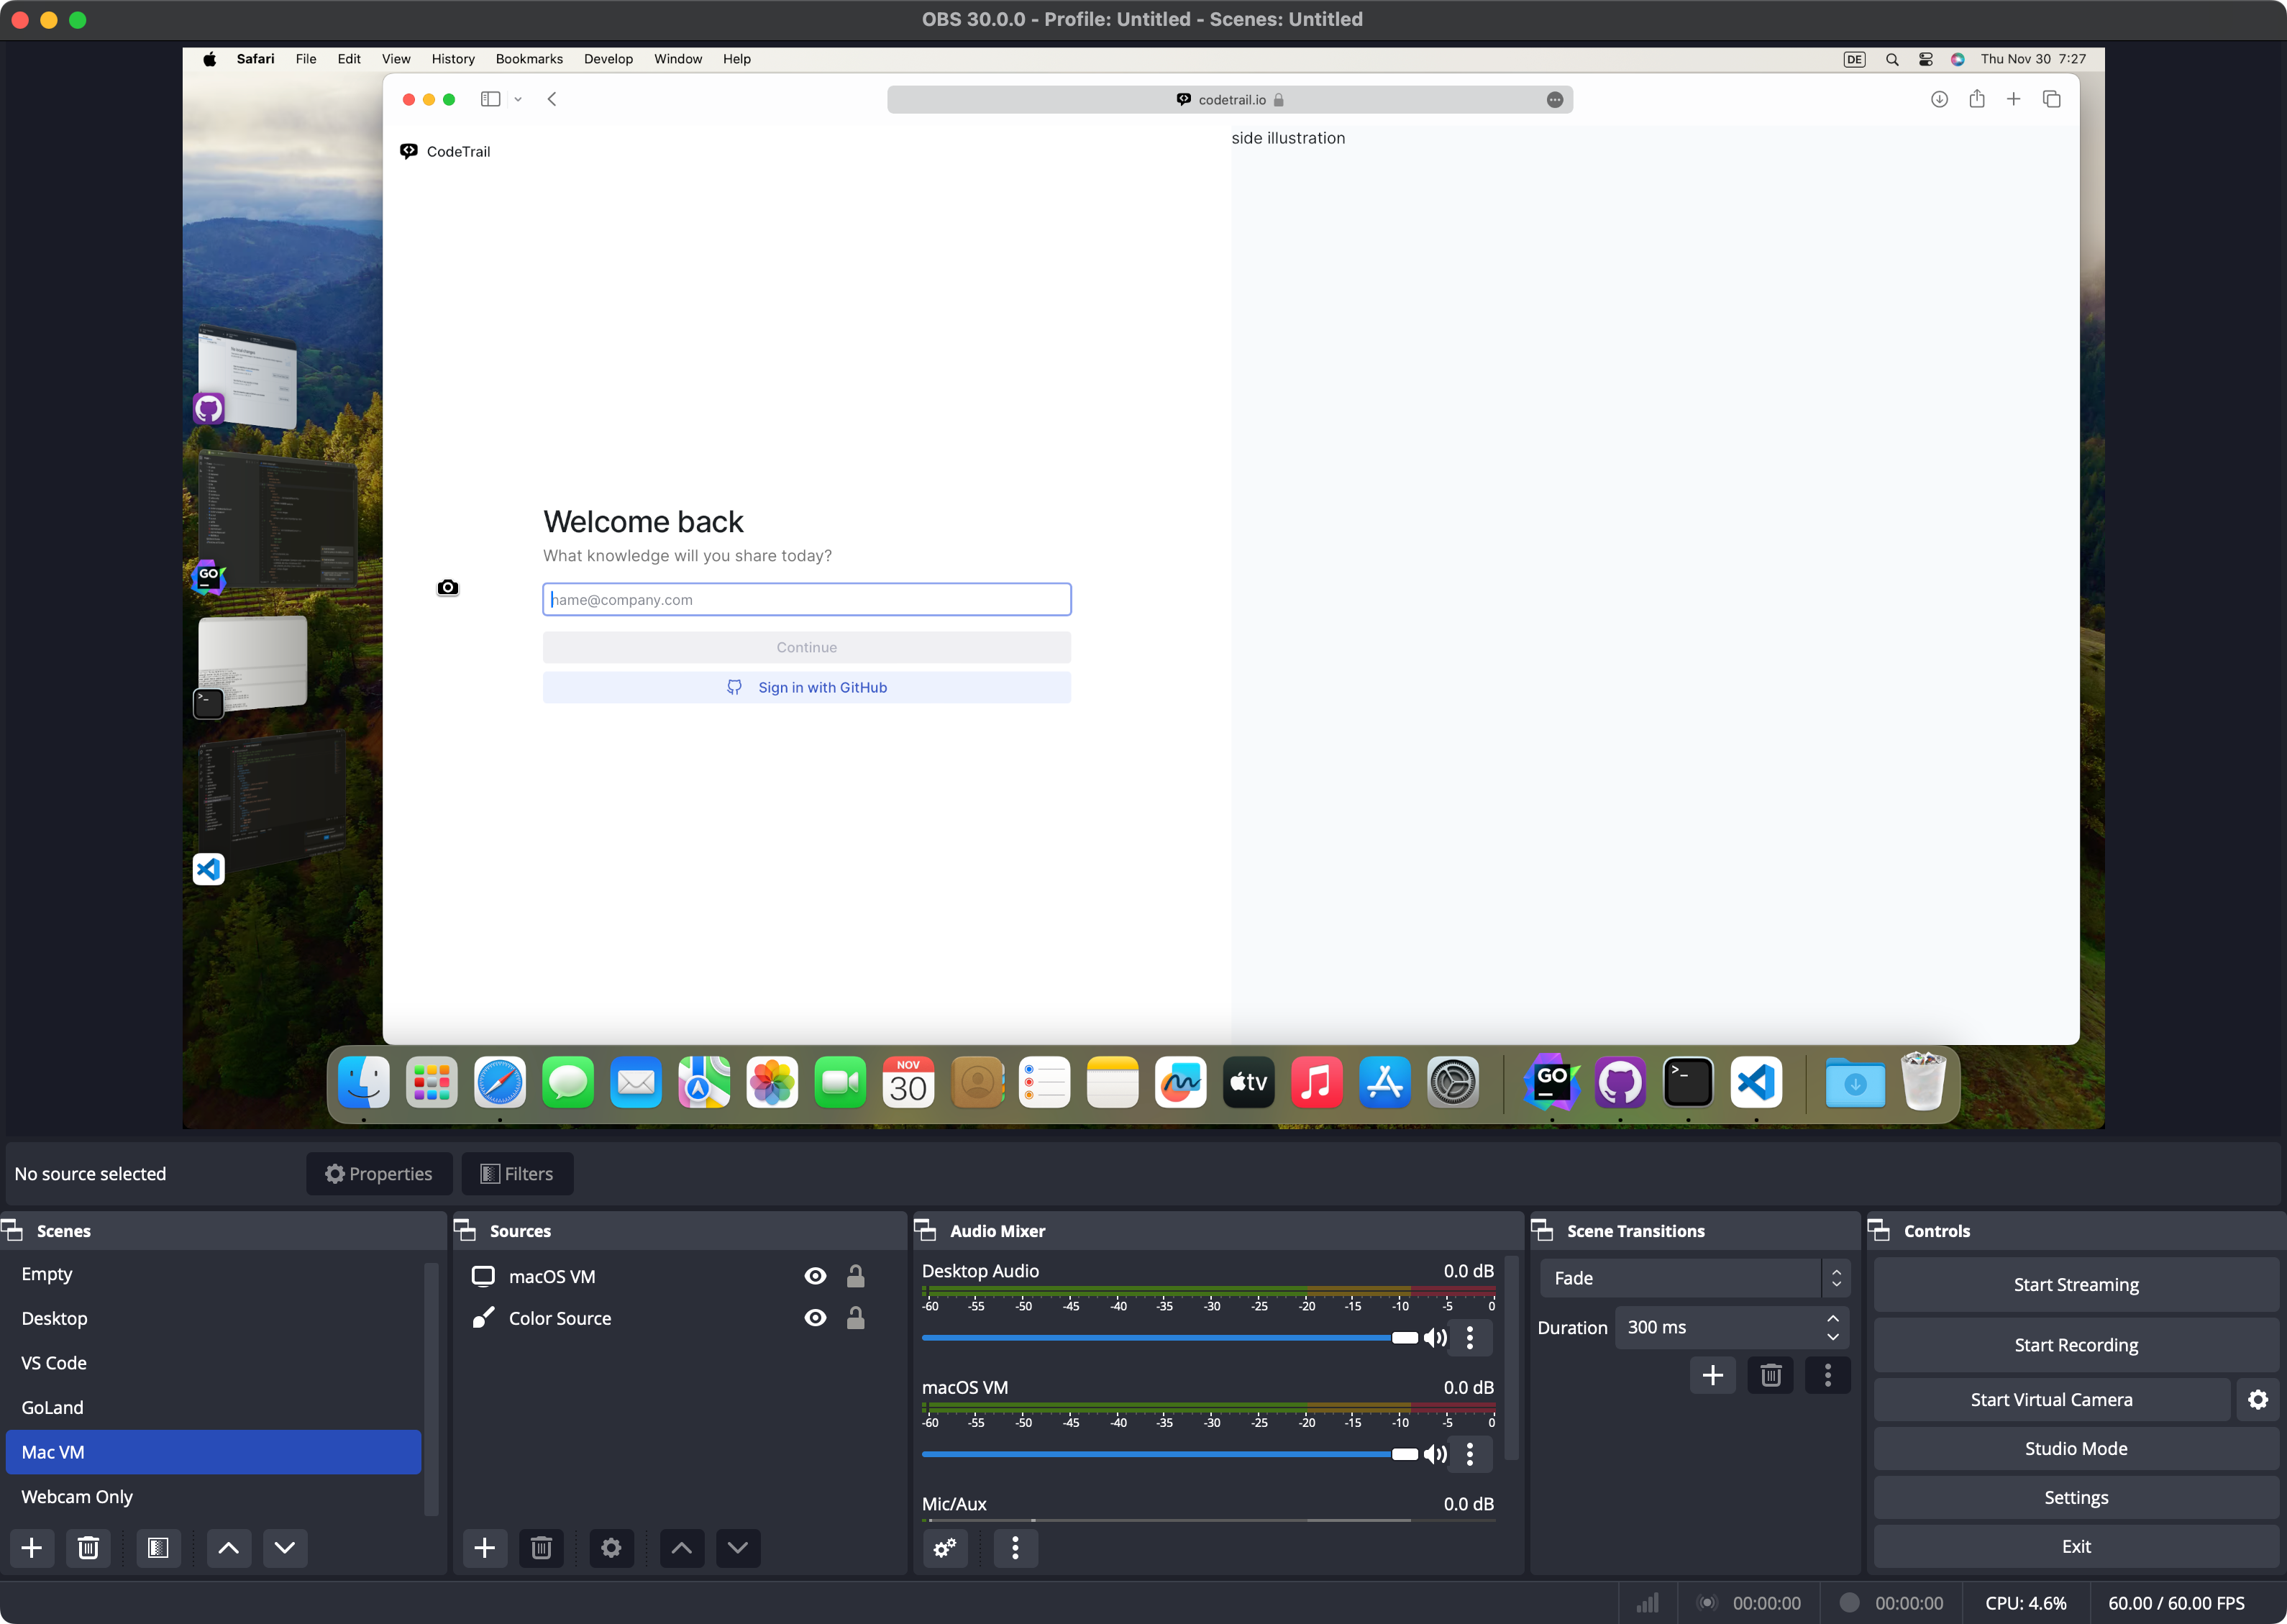
OBS is pretty popular in the streaming community, but it works just as well for recording videos as it does for live streaming. Desktop audio from the VM is supported out of the box, and you can adjust your audio sources until you’re happy with the volume. My OBS canvas is set to 3840x2160 and outputs HEVC-encoded QuickTime (.mov) files with the quality set to “Indistinguishable”, so the result remains crisp.
Pre-recording composable video footage
I found it frustrating to record demos in one go. Too often, I’d end up running into issues, opening the wrong editor, signing into the wrong account, and so on. Getting the demo content right is hard enough. I think adding your webcam and voice on top makes this infinitely harder.
Instead, I found it much more pleasant to think about what I wanted to record in the first place, create a basic script for narration, capture the video footage roughly getting the timings right, and then narrating on top while recording the webcam. The result may be indistinguishable, but chances are you’ll get better results far quicker and with way fewer wasted takes along the way.
Another interesting benefit of detaching the video footage from narration is that you can easily localize the content for different audiences and reuse clips. This is similar to building your design from multiple components in your design system. You assemble all the parts first, then you combine them into a high-quality product.
I’m really happy with my repeatable, clean, and visually appealing setup after recording a couple of videos over the past week. The VM makes it really easy to get the environment right every time without leaking any sensitive details, and OBS makes it easy to capture video, audio, and webcam components. While I could record everything in one take, this approach didn’t work for me, so I pivoted to drafting a rough script, recording individual parts to then narrate over. The final clips can be combined and assembled on demand.